

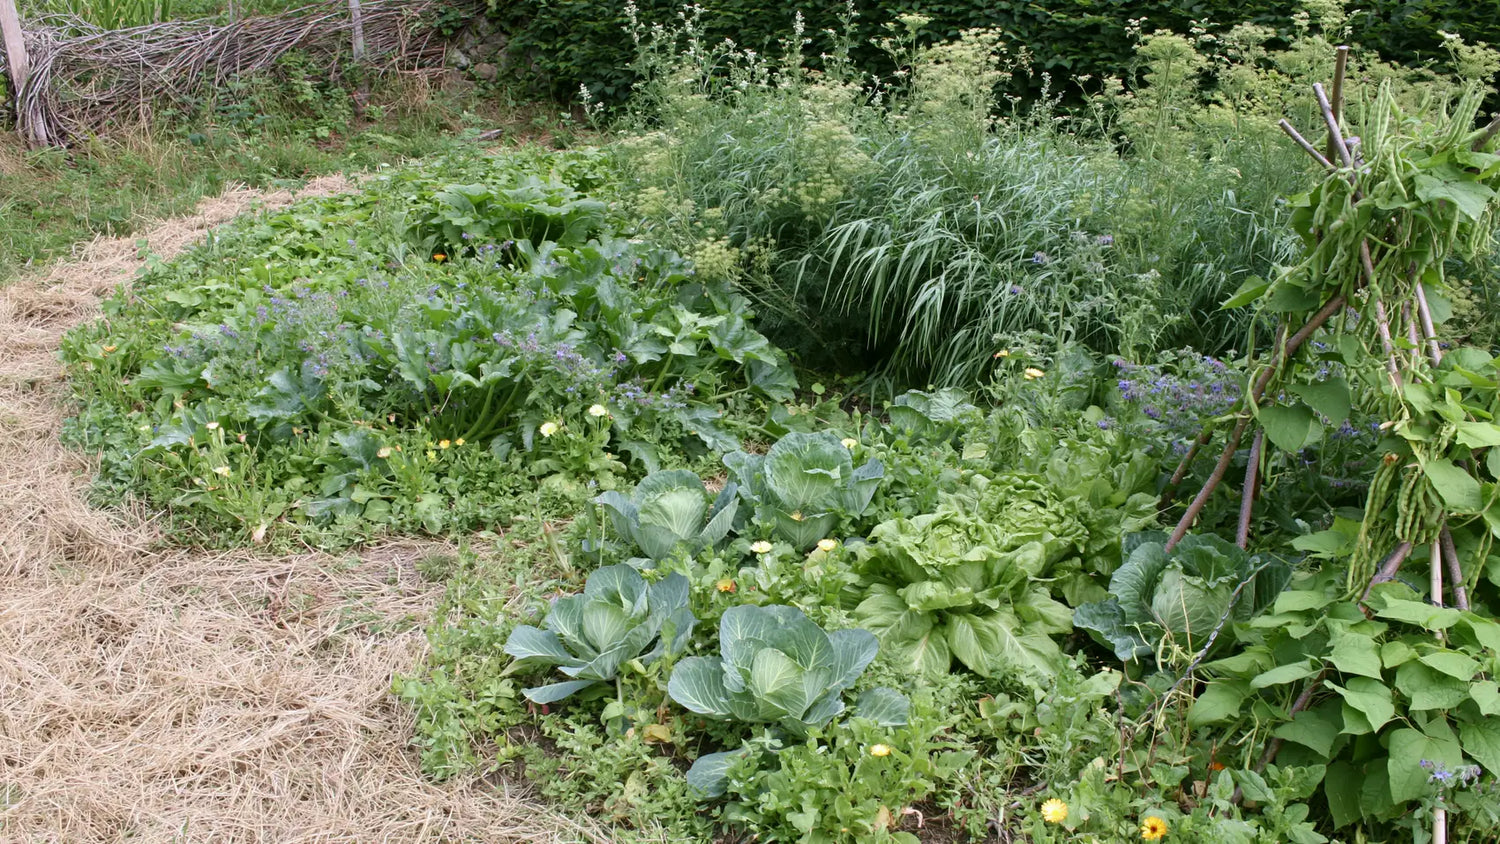
Permaculture is not a gardening technique but a design method. The difference is important: you do not begin by buying seeds or digging a bed; you begin by observing a plot of land and deciding what to put there, where, and why. Everything else — living soil, mulching, companion planting, mounds — follows from this preliminary work.
This guide follows the actual order in which a permaculture garden is created: observe, design, prepare the soil, choose the plants, install, then maintain. It is aimed both at those starting out on 20 m² and at those who want to understand what is happening beneath their feet.
1. Observe before touching anything
This is the step everyone skips, and the one that prevents the most costly mistakes. Ideally, observe for an entire season. In practice, just a few weeks of attention are already enough to avoid planting mistakes.
What to note
- The path of the sun — note where the light falls at 9 a.m., 1 p.m., and 5 p.m. Most fruiting vegetables need six hours of direct sunlight; lettuces and spinach prefer light afternoon shade.
- The prevailing wind — in France, it most often comes from the west or northwest. A steady wind dries out the soil much faster than a lack of rain.
- Where water collects after a heavy downpour, and where it disappears within an hour. These two areas should not be planted with the same crops.
- Wild plants — they provide free information about the soil. Nettle and cleavers: nitrogen-rich soil. Horsetail and creeping buttercup: compacted, damp soil. Plantain: compacted soil. Dock: heavy, acidic soil.
Understanding your soil’s texture
Two tests are enough, and they cost nothing. The ribbon test: moisten a handful of soil and roll it. If it forms a ribbon that bends without breaking, the soil is clayey; if it crumbles immediately, it is sandy. The jar test (soil + water, left to settle for 24 hours) reveals the proportions of sand / silt / clay in successive layers.
Our article The different types of soil details the two methods and the amendments required depending on the result.
2. Design: zoning, even on 20 m²
The principle of zones, borrowed from permaculture design, is astonishingly ordinary yet remarkably effective: the more attention a crop requires, the closer it should be to the door.
- Zone 1 — ten steps from the kitchen: herbs, cut-and-come-again salads, radishes, edible flowers. Everything you can go and get in your slippers.
- Zone 2 — visits every two or three days: tomatoes, zucchini, beans, carrots.
- Zone 3 — weekly visits: potatoes, trailing squash, cereals, green manures.
- Zone 4 — orchard, fruit hedge, compost, wood store.
- Zone 5 — a corner left wild. This is not neglect: it is the garden’s reservoir of beneficial organisms.
On a balcony, the same logic still applies: basil on the windowsill, zucchini in the large planter at the back. The complete approach is explained in Planning your garden according to growing zones and exposure.
A sizing guideline: a garden bed should be no more than 1.20 m wide. Beyond that, you can no longer reach the center without stepping on it — and compacting the soil ruins all the biological work below.
3. Living soil: what is really happening underneath
This is the heart of permaculture, and the reason we do not turn the soil.
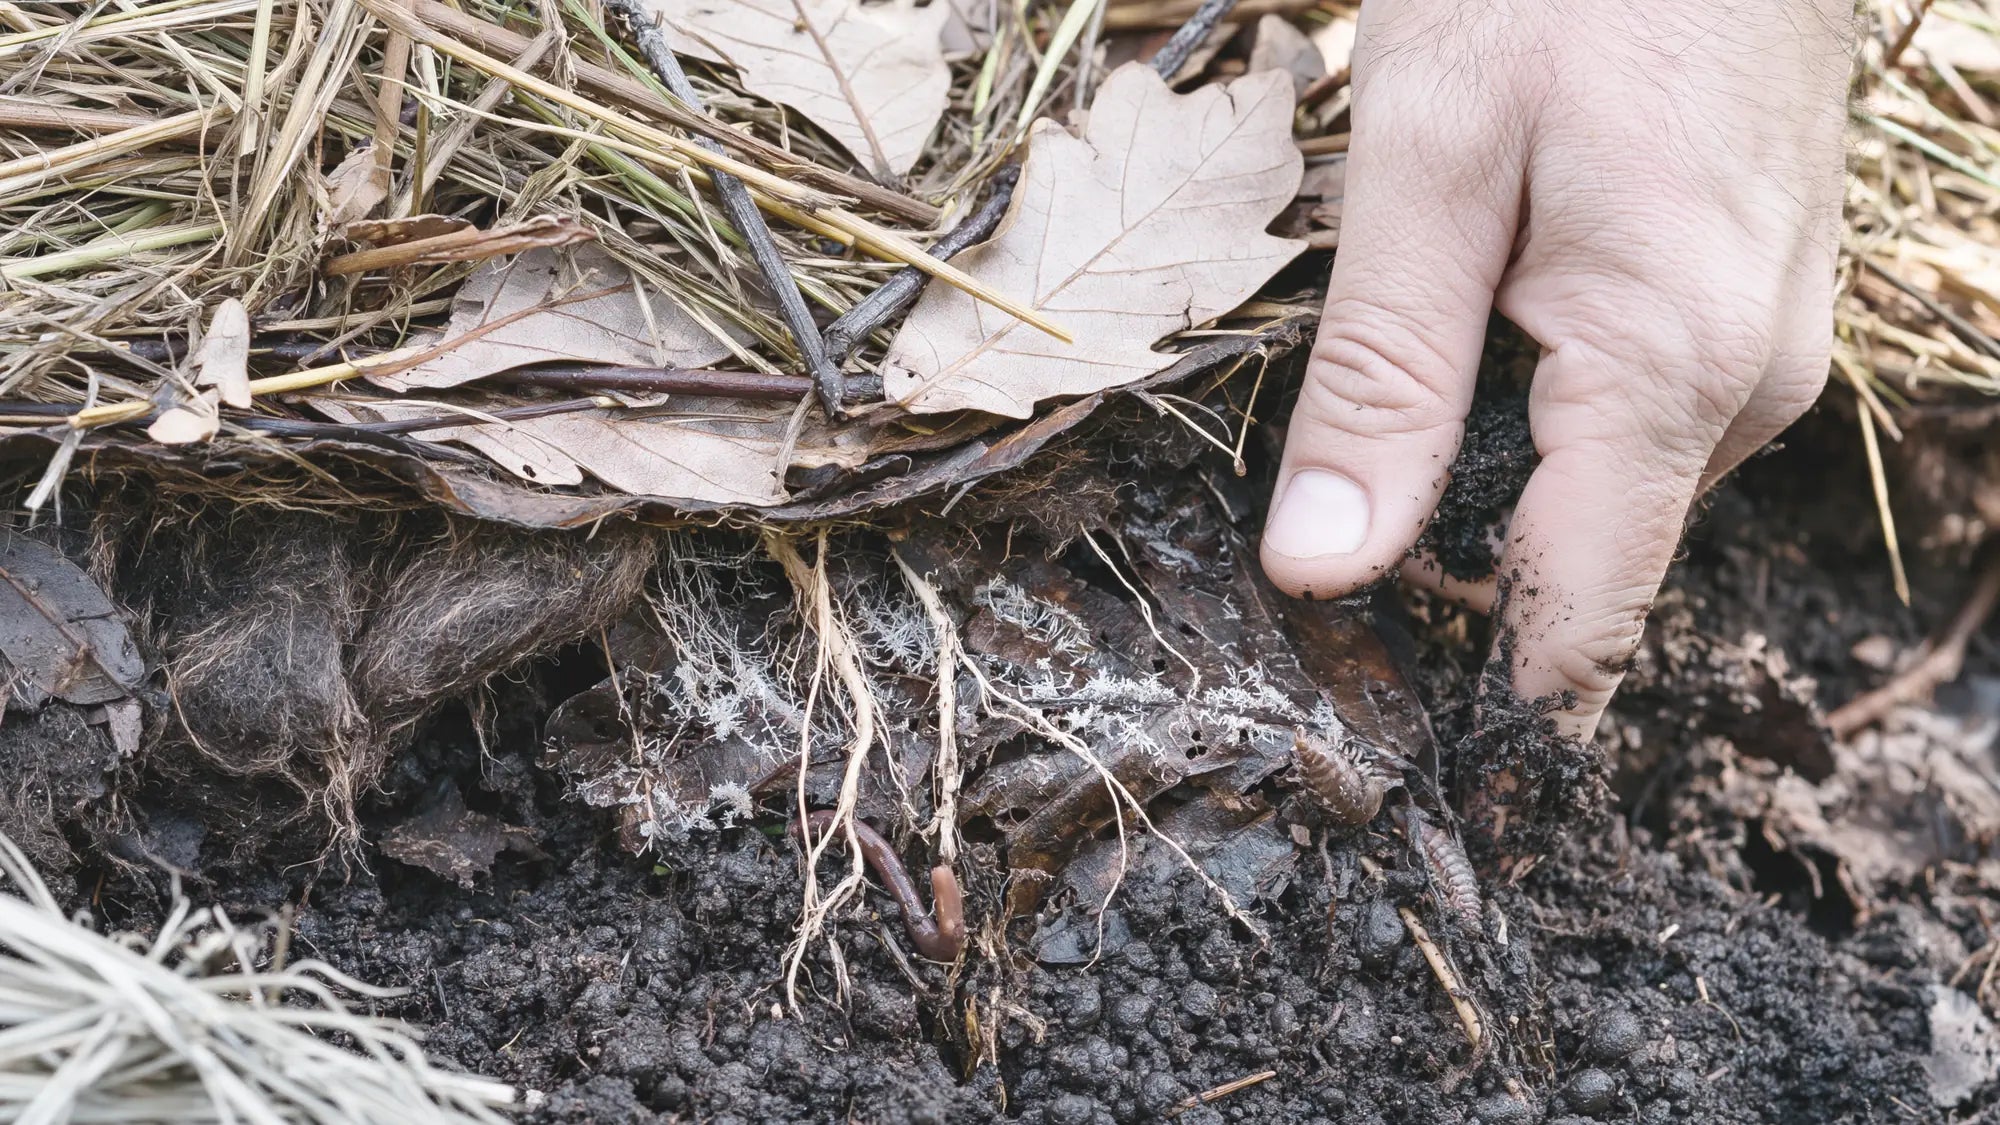
Healthy soil contains a precise biological stratification. Aerobic organisms — bacteria and fungi that need oxygen — live in the top few centimeters. Anaerobic organisms live deeper down and die when exposed to oxygen. Turning the soil with a spade reverses these two layers and kills both populations at once. The soil then takes several months to rebuild, during which it abruptly releases its reserves of organic matter — hence the illusion of a “boost” after plowing, followed by depletion.
The three players
- Bacteria break down soft organic matter and fix atmospheric nitrogen, particularly in symbiosis with legumes (peas, beans, clover, alfalfa).
- Mycorrhizal fungi form a network that connects to roots and greatly expands their absorption surface. They provide water and minerals, while the plant supplies sugars produced through photosynthesis. This network takes years to build and only a few minutes to destroy with a rototiller.
- Soil fauna — earthworms, springtails, woodlice, mites — fragments organic matter and creates the channels that aerate and drain the soil.
The details of this ecosystem are explained in The Basics of Living Soil.
4. Preparing the land without tilling
The cardboard method (on a lawn or uncultivated land)
- Cut the existing vegetation short without pulling it up—the dead roots will become organic matter and channels.
- Water the soil thoroughly before covering it. This is the step everyone forgets: cardboard laid on dry soil blocks the rain for months.
- Lay down unprinted brown cardboard, removing adhesive tape and staples, and overlap the sheets by at least 15 cm.
- Layer 20 to 30 cm of organic matter, alternating brown materials (dead leaves, straw, wood chips) and green materials (grass clippings, peelings, young compost).
- Finish with 5 cm of mature compost or good soil, in which you will sow.
Wait three to six months before planting root vegetables. However, you can plant squash or potatoes in the first year, in pockets of potting soil made through the cardboard.
Should you make raised beds?
Not systematically, contrary to what the postcard image of permaculture might suggest. Raised beds are genuinely useful on heavy, poorly drained soil or in a humid climate: they warm the soil earlier in spring and prevent root asphyxiation. In a dry climate or on sandy soil, they are counterproductive: they dry it out. In that case, a flat bed, or even a slightly sunken one, will be more effective.
If a raised bed is the right choice, the complete method (including buried wood at the core, which acts like a sponge) is described in Growing in raised beds.
5. Choosing and combining plants
Open-pollinated seeds, and why
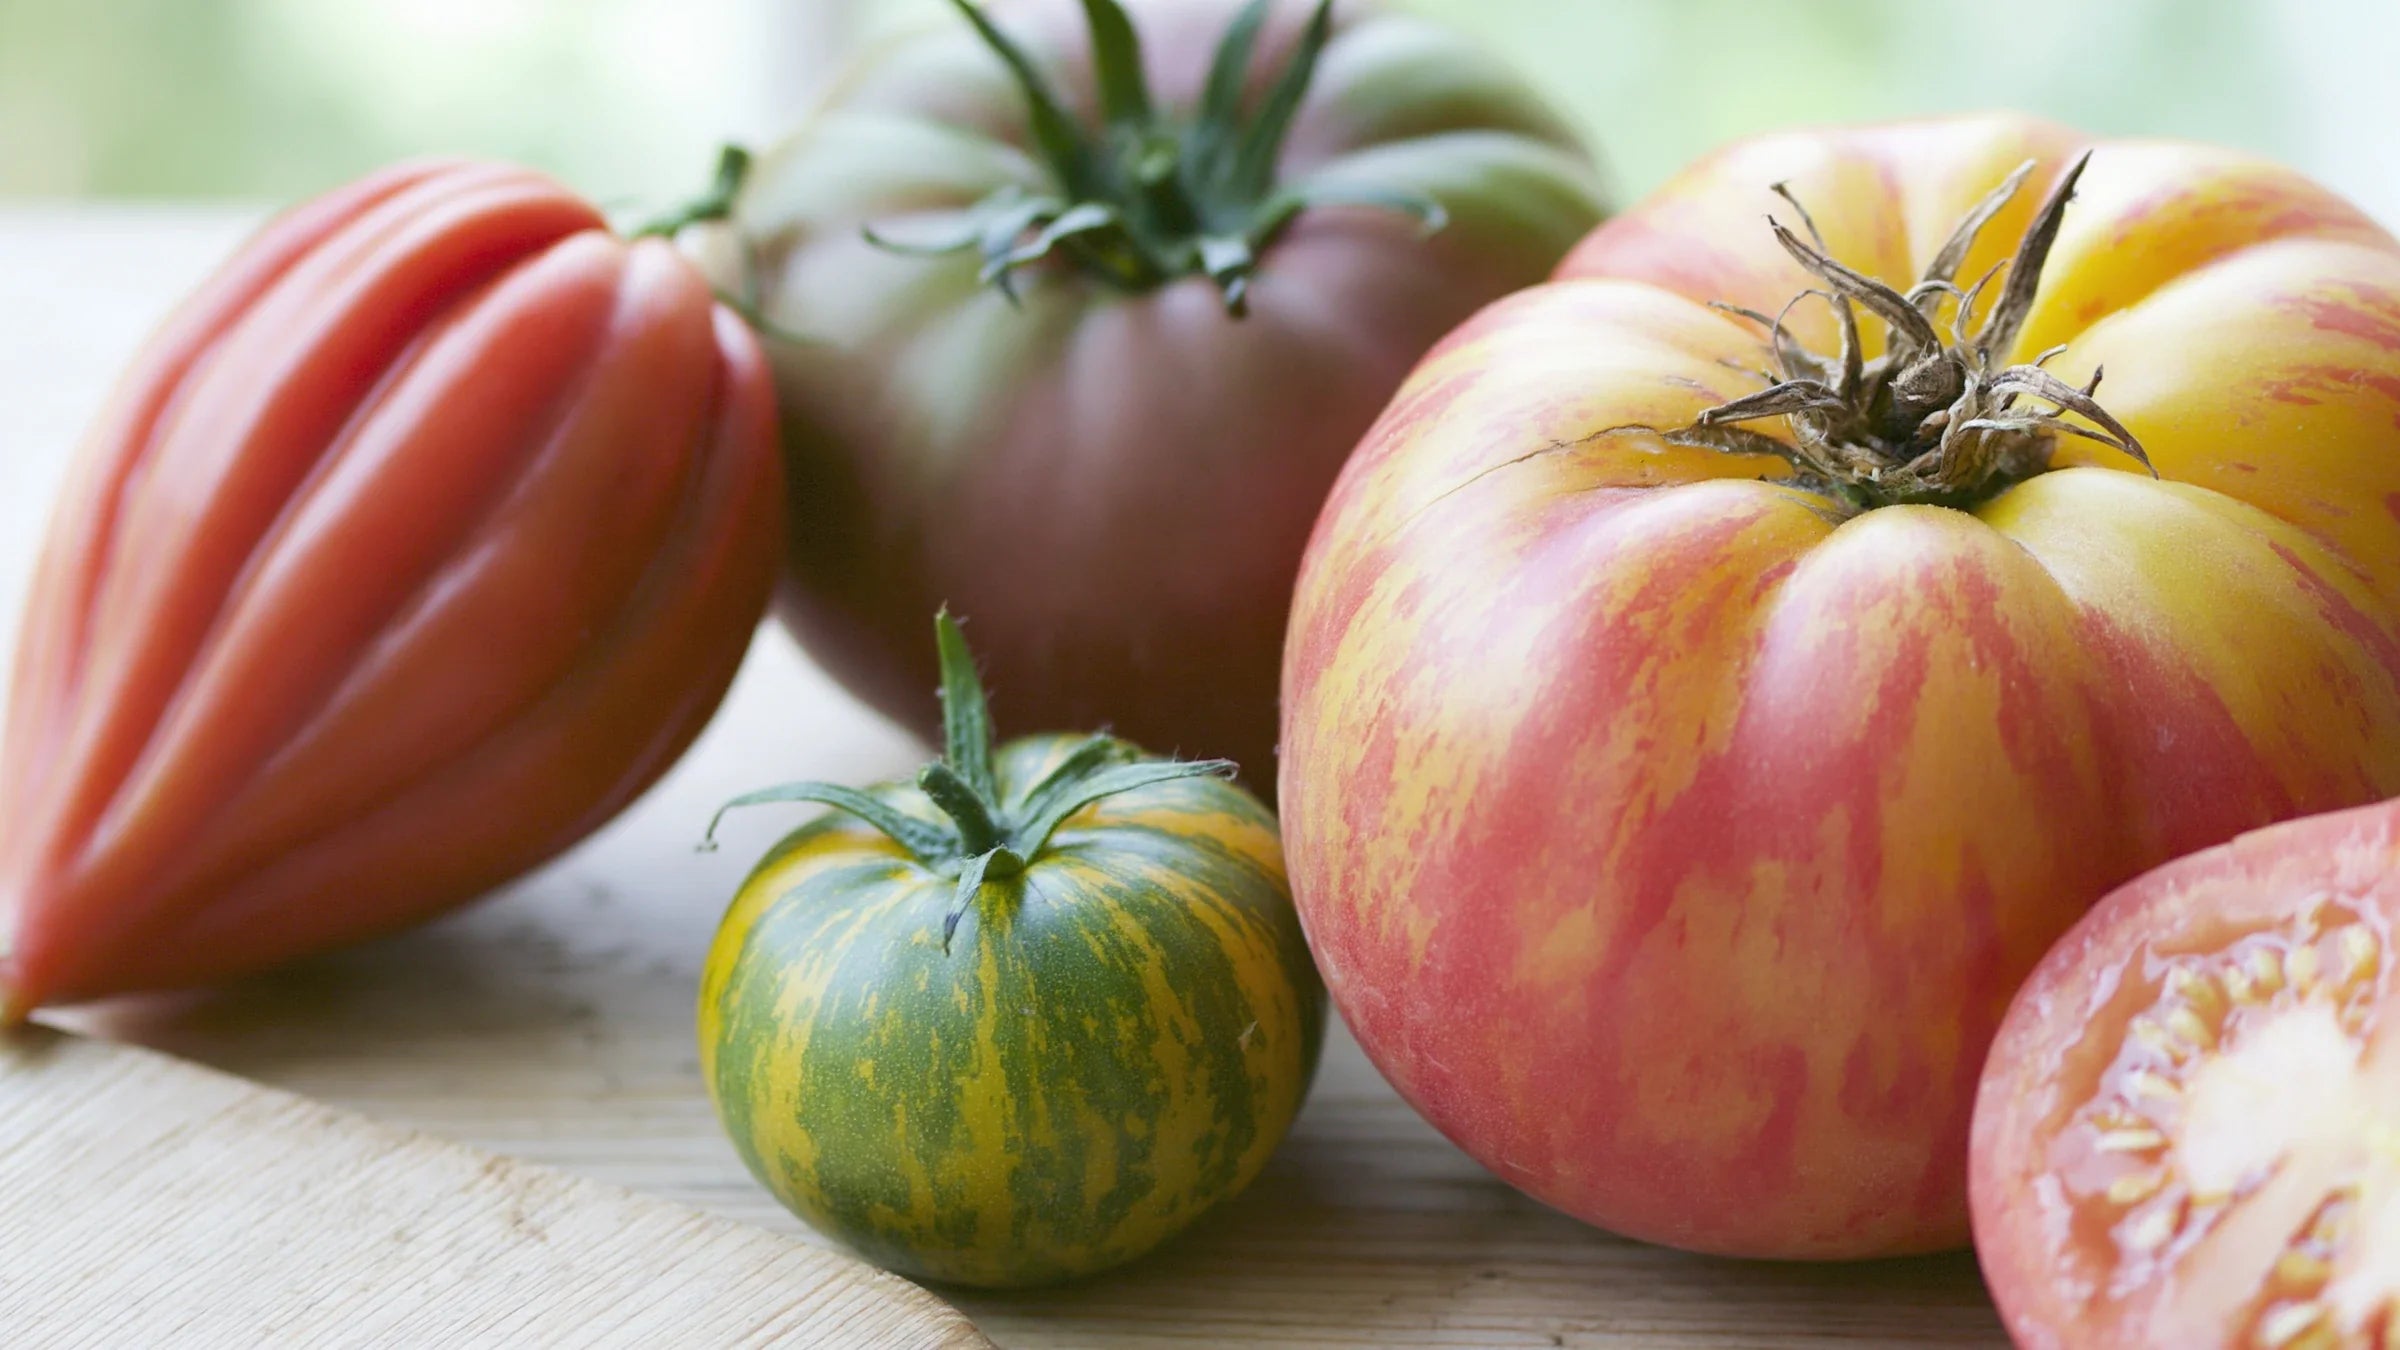
In permaculture, a seed is not an annual consumable: it is part of the system. A population variety resown each year in the same garden gradually adapts to your soil and climate—a form of natural selection taking place in your garden. An F1 hybrid, repurchased identically every spring, never will.
See the difference between F1, hybrid, and open-pollinated seeds, as well as all our heirloom varieties.
Associations that really work
Many associations circulate without a solid basis. Three mechanisms, however, are well documented:
- Olfactory confusion — an aromatic plant masks the scent of a crop and makes it harder for the pest to locate it. This is the case with leeks and carrots, whose respective flies interfere with each other.
- The trap crop — nasturtiums attract aphids, which leave nearby zucchini plants alone. They are therefore not “repellent”: they are deliberately sacrificed.
- Complementary use of space — deep and shallow roots, tall growth and ground cover: you harvest more from the same area without direct competition.
The detailed list, including useful companion plants for combating pests, appears in The best vegetable combinations for the garden.
Never leave the soil bare
Between two crops, sow a green manure: phacelia in summer, mustard for a quick catch crop, rye or clover to overwinter. You feed the soil, limit weeds, and prevent nutrients from being leached by winter rains. This offers the best effort-to-benefit ratio of any action in the vegetable garden.
6. Water: water less, but better
A well-designed permaculture garden uses little water, but not by magic: through the accumulation of three effects.
- Permanent mulch — 5 to 10 cm of straw, leaves, or shredded plant material. It greatly reduces surface evaporation, maintains a stable temperature, and nourishes soil life as it decomposes.
- Organic matter — every percentage point of organic matter added to soil significantly increases its water-holding capacity. This is a slow but cumulative effect that builds over the years.
- How to water — infrequently and deeply, rather than a little and often. Daily shallow watering keeps roots near the surface, where they are most vulnerable to drought.
The approach taken all the way is described in Create a garden without irrigation.
The six most common mistakes
- Thinking too big in the first year. 20 m² that are well maintained produce more than 100 m² overrun with weeds. Expand in the second year, not before.
- Mulching dry soil. Mulch preserves the moisture already present; it does not create any. Water first, then mulch.
- Mulching too early in spring. Covered soil warms up more slowly. Move the mulch aside two weeks before sowing, then put it back after emergence.
- Adding immature compost around young plants — it causes temporary nitrogen hunger and makes crops turn yellow. See Composting: feeding the soil by imitating nature.
- Forgetting crop rotation. Even in living soil, growing the same family in the same place repeatedly concentrates pathogens. A three- or four-year cycle is enough.
- Copying a model seen elsewhere. The mounds in a garden in Brittany have no place in a garden in the south. Permaculture is designed in context — that is even its definition.
Frequently asked questions
How long does it take to have truly living soil?
The first signs — abundant earthworms, a crumbly structure, and a woodland smell — generally appear from the second year onward in properly mulched, undisturbed soil. The mycorrhizal network itself takes several years to develop.
Can you practice permaculture on a balcony?
The design principles, yes: observation, zoning, guilds, soil cover, and recycling organic matter. “Living soil” in a pot remains limited, but a worm composter and surface mulch are useful steps in that direction. See Balcony vegetable garden.
Do you really have to never touch the soil?
No. We avoid turning over the soil, not intervening. Aerating with a broadfork without inverting the layers, lightly raking to incorporate compost, and opening a seed furrow are all perfectly compatible with living soil.
Where should I start if I only have one weekend?
A 1.20 m by 3 m bed, prepared with cardboard, filled with organic matter, and mulched. Then four easy species: radishes, lettuce, zucchini, and nasturtiums. That is enough to understand how the system works before investing more.
Key takeaway
A permaculture vegetable garden is not recognized by its mounds or apparent disorder, but by three things: soil that is never bare, never turned over, and a design adapted to the site rather than to a model. Everything else — yields, resilience, water conservation — naturally follows over a few seasons.
To go further
- The basics of permaculture: living soil, biodiversity, self-sufficiency
- The month-by-month sowing calendar
- How to store your seeds from one year to the next
- Which seeds should I choose to start a permaculture vegetable garden?
To get started, explore our vegetable seeds, our green manures, and our starter kits — all our seeds can be saved and replanted.

留下评论
此站点受 hCaptcha 保护,并且 hCaptcha 隐私政策和服务条款适用。