
In this article 8
A poorly placed garden costs you every season. A bed in the shade in July, a square of herbs at the far end of the plot that you will never go and get in your slippers, an area where water remains pooled all winter: these are design errors, not gardening errors, and no technique can make up for them afterward.
Planning requires a day of reflection and a pencil. It saves three years of trial and error. This guide covers preliminary observation, zoning, exposure, and how to draw a plan that will hold up.
Observe before drawing
Ideally, you should observe for an entire season. In practice, a few weeks of attention are enough to avoid major mistakes—as long as you take notes rather than relying on your memory.
What to record
- The sun’s path. Note where the light falls at 9 a.m., 1 p.m., and 5 p.m., and repeat the exercise in two different seasons. In winter, the sun is low: a wall or hedge casts a shadow two to three times longer than in summer. An area in full sun in July may be in complete shade from November to February.
- The prevailing wind. In France, it most often comes from the west or northwest. A steady wind dries out the soil faster than a lack of rain and breaks the stems of fruiting vegetables.
- Where the water goes. After a heavy downpour, note where it remains pooled and where it disappears within an hour. These two areas will not receive the same crops—or the same bed shape.
- Spontaneous plants. Nettles and cleavers: nitrogen-rich soil. Horsetail and creeping buttercup: waterlogged, compacted soil. Plantain: surface compaction. See The different types of soil.
- Access and the water source. Where do you start from? Where is the tap? Which way does the wheelbarrow go? These trivial constraints shape the plan more than aesthetics do.
Write everything down on a rough plan, even a clumsy one. An annotated sketch made in October will still be useful five years from now; a memory won’t.
Zoning: organizing according to how often you pass by
The principle, borrowed from permaculture design, is disarmingly simple and remarkably effective: the more attention a crop requires, the closer it should be to the door.
It’s not a question of comfort but of saving energy. A plant you visit every day should be ten steps away; a plant you see three times a year can be at the far end of the plot. Reverse the two, and you condemn yourself to abandoning the first.
| Zone | Frequency | What to put there |
|---|---|---|
| Zone 1 | Daily | Herbs, cut-and-come-again lettuce, radishes, edible flowers, everything picked while cooking |
| Zone 2 | Every 2–3 days | Tomatoes, courgettes, beans, carrots, the main vegetable garden |
| Zone 3 | Weekly | Potatoes, trailing squash, green manures, cereals |
| Zone 4 | Seasonal | Orchard, fruit hedge, compost, wood reserve |
| Zone 5 | Almost never | A wild corner — a reservoir of beneficial insects |
On a 200 m² plot, the five zones fit within a few metres of one another. On a balcony, the same reasoning still applies: basil on the windowsill, courgette in the large container at the back. See Balcony vegetable garden.
Zone 5 is not neglect. A pile of dead wood, a few nettles, and an untrimmed hedge provide shelter for hedgehogs, ground beetles, and parasitoid wasps — this is where they recolonise the vegetable garden after every disturbance. A few square metres are enough.
Exposure: which crop belongs where
The general rule can be summed up in one sentence: you eat the leaf → partial shade is tolerated; you eat the fruit → full sun is essential. Fruit requires much more energy to produce than a leaf.
| Exposure | Hours of sunlight | Suitable crops |
|---|---|---|
| Full south | 6 hours or more | Tomatoes, peppers, aubergines, melons, squash, Mediterranean herbs |
| East | 4–6 hours, morning | Lettuce, spinach, radishes, strawberries, peas — morning sun dries the dew and limits disease |
| West | 4–6 hours, afternoon | Beans, Swiss chard, cabbages, courgettes — watch out for heat stress in summer |
| North or shade | Less than 4 hours | Parsley, chives, mint, sorrel, lamb's lettuce, rhubarb, shade-loving small fruits |
Two useful nuances:
- Summer shade is a resource, not a drawback. A lettuce in light shade in July is much less likely to bolt. Deliberately planting lettuce at the foot of tomatoes is a good decision, not a compromise.
- Distinguish between dry shade and damp shade. Beneath a large tree, shade comes with severe root competition and dry soil — this is the most difficult situation. Shade from a wall, on the other hand, remains cultivable.
Microclimates: creating and making use of them
A plot is never uniform, and the differences are greater than you might think — several degrees between two points ten metres apart.
- The south-facing wall — it stores heat during the day and releases it at night. This is where we can grow the most tender crops: basil, peppers, and a fig tree in borderline regions.
- Hollow and lower slope — cold, denser air accumulates there at night. These are frost pockets: avoid placing early-flowering fruit trees there, as their blossoms would be scorched on the first clear morning.
- The windbreak hedge — an open hedge provides protection for a distance of about ten times its height. A solid barrier, on the other hand, creates turbulence behind it and can worsen the problem: this is a common misconception.
- Thermal mass — a pond, a pool, or a large pile of stones moderates temperature fluctuations in its immediate surroundings.
Drawing the plan
Sizing
- Beds no more than 1.20 m wide — beyond that, you can no longer reach the centre without stepping on them, and compacting the soil ruins all the biological work.
- Paths 50 to 60 cm wide — you need to be able to pass through with a wheelbarrow. A path that is too narrow will be trampled along the edges of the beds.
- North–south orientation for the beds, so that both sides receive an equal share of sunlight.
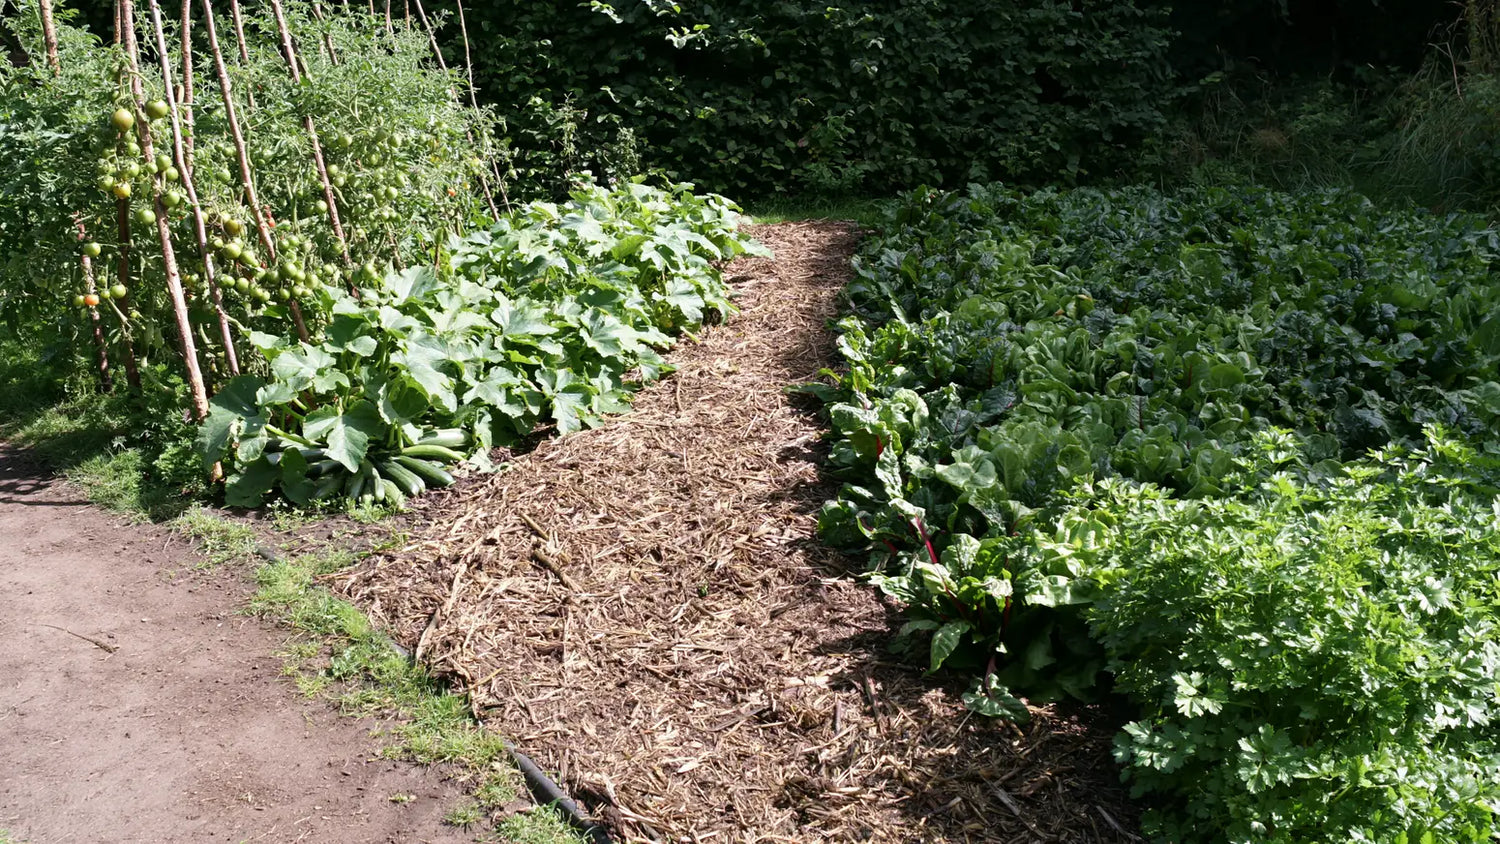
- Tall plants to the north — staked tomatoes, corn, sunflowers along the northern edge of the plot, so they do not shade the rest.
Start small
This is the most important, and most often ignored, piece of advice. Twenty square metres that are well maintained produce more than one hundred square metres overrun with weeds. Expand in the second year, once you know how much time you actually devote to it.
Plan the rotation from the outset
Number your beds and record each year what you have grown in them. A four-year cycle is enough: leafy vegetables, fruiting vegetables, root vegetables, legumes. The one rule to follow: never grow the same botanical family in the same place two years in a row. See The best vegetable pairings for the kitchen garden.
The most costly design mistakes
- Placing the compost at the back of the property. You will not go there with your peelings in January rain. Zone 1 or 2, no farther.
- Forgetting the winter shade. An area assessed in June may be in full shade six months of the year.
- Making beds too wide. The irreversible mistake: you will eventually walk on them.
- Neglecting the water source. A thirty-metre hose to unwind every evening, and watering eventually gets skipped.
- Planting fruit trees in the hollow. Early flowering combined with late frost: no harvest every other year.
- Trying to do too much in the first year. The number one reason people give up.
Frequently asked questions
How long should you observe before getting started?
A full season is ideal, but few people have that kind of patience. A reasonable compromise is to start on a small area in the first year while observing the rest of the land. You can design the final plan in the second year, with the benefit of experience.
Do you need a scale drawing?
An annotated sketch is more than enough for a family vegetable garden. What matters are the annotations — shade at a certain time, water collecting here, wind from this direction — not the precision of the drawing. Graph paper, one square per square meter, is quite sufficient.
How can you adapt the zoning to a very small garden?
The zones can be compressed, but the order remains: whatever is harvested daily goes closest to the door, while what is managed once a week goes at the back. Even on 30 m², the difference becomes noticeable after one season.
What should you do with an area where water collects?
Two options: raised-bed cultivation, which solves the drainage issue, or accept it and plant things that thrive in moist conditions — rhubarb, mint, watercress, willow for mulch. Fighting it head-on costs more than adapting.
Can the plan be changed afterwards?
Annual beds, yes, easily. Permanent elements — trees, hedges, pond, greenhouse — no: these are the ones that need to be positioned most carefully, because they commit you for decades.
Key takeaway
Observe first, then draw, and position things according to how often you pass by rather than aesthetics. Permanent elements deserve careful consideration; annual beds can be adjusted from one year to the next. And start small — it's the only decision you never regret.
To go further
- How do you create a permaculture vegetable garden? Complete guide
- The basics of permaculture: living soil, biodiversity, self-sufficiency
- The month-by-month sowing calendar
- Creating a permaculture garden in a small space
Once the plan is set: our vegetable seeds, our culinary herbs for zone 1, and our honey plants for the wild zone.

Leave a comment
This site is protected by hCaptcha and the hCaptcha Privacy Policy and Terms of Service apply.