Growing mushrooms from liquid mycelium: a complete guide
Do you dream of harvesting your own tasty and rare mushrooms, directly in your garden or even indoors? Thanks to the liquid mycelium tubes offered by SemiSauvage Permaculture, cultivating species like morels, truffles, porcini, or shiitakes becomes accessible, even without prior experience.
🌱 What is liquid mycelium?
Each tube contains a living fungal strain in the form of mycelium, suspended in a sterile liquid. The mycelium is the vegetative organism of the fungus, comparable to the roots of a plant, capable of colonizing a substrate to then fruit (produce mushrooms).
Before any use, the mycelium must be diluted in a specific sugary water, then incubated for a few days at room temperature.
🧪 How to prepare the mixture?
-
Water: Use mineral water (non-chlorinated).
-
Sugar: Add a preservative-free syrup, based on glucose/fructose (apple or peach).
-
Dosage :
-
15 ml tube → 1.5 L of water + 15 ml of syrup
-
50 ml tube → 5 L of water + 50 ml of syrup
-
-
Incubation: Let rest in a dark place, at a minimum of 20 °C for 10 days. The liquid will become cloudy and filaments will appear.
💡 Tip: Open the bottle regularly to release gases. Avoid too much pressure by slightly piercing the cork.
🍄 Which mushrooms can be cultivated?
Outdoors (garden, forest, meadow):
-
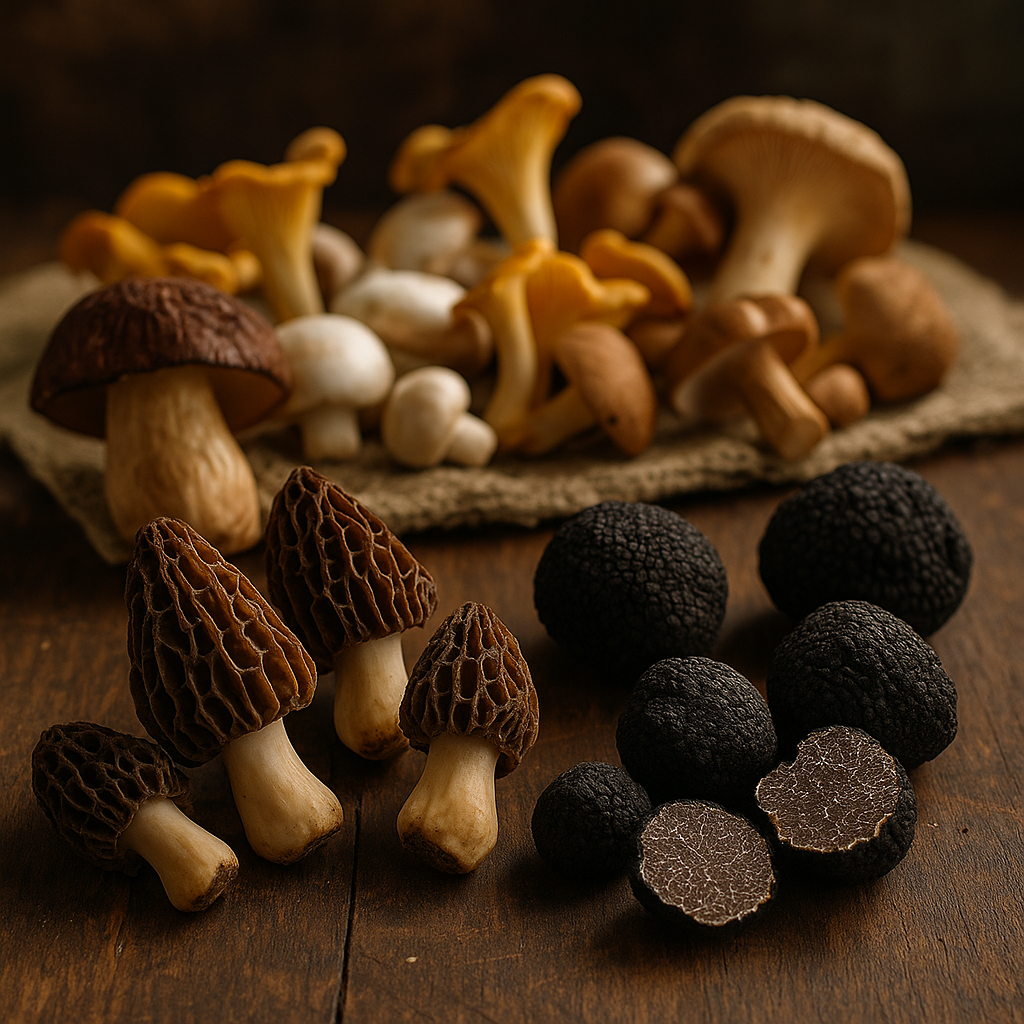
Morels: to plant in spring or autumn, on sandy soil or orchards. Spring fruiting, 2 to 3 years after inoculation.
-
Porcini, chanterelles, black trumpets, hedgehog mushrooms: mycorrhizal, to be associated with the roots of deciduous trees. Fruiting from late summer to autumn, depending on the species.
-
Meadow mushroom: grows in meadow or lightly trampled clearing. Very hardy, fruits in spring and autumn.
-
Truffles black or white: to inoculate the roots of young trees (oak, hazel, linden…). Fruiting after 5 to 10 years, but long-lasting.
Indoors or controlled outdoors:
-
Button mushrooms (white & brown): in bins or crates, on pasteurized compost. Rapid fruiting (2 to 3 months).
-
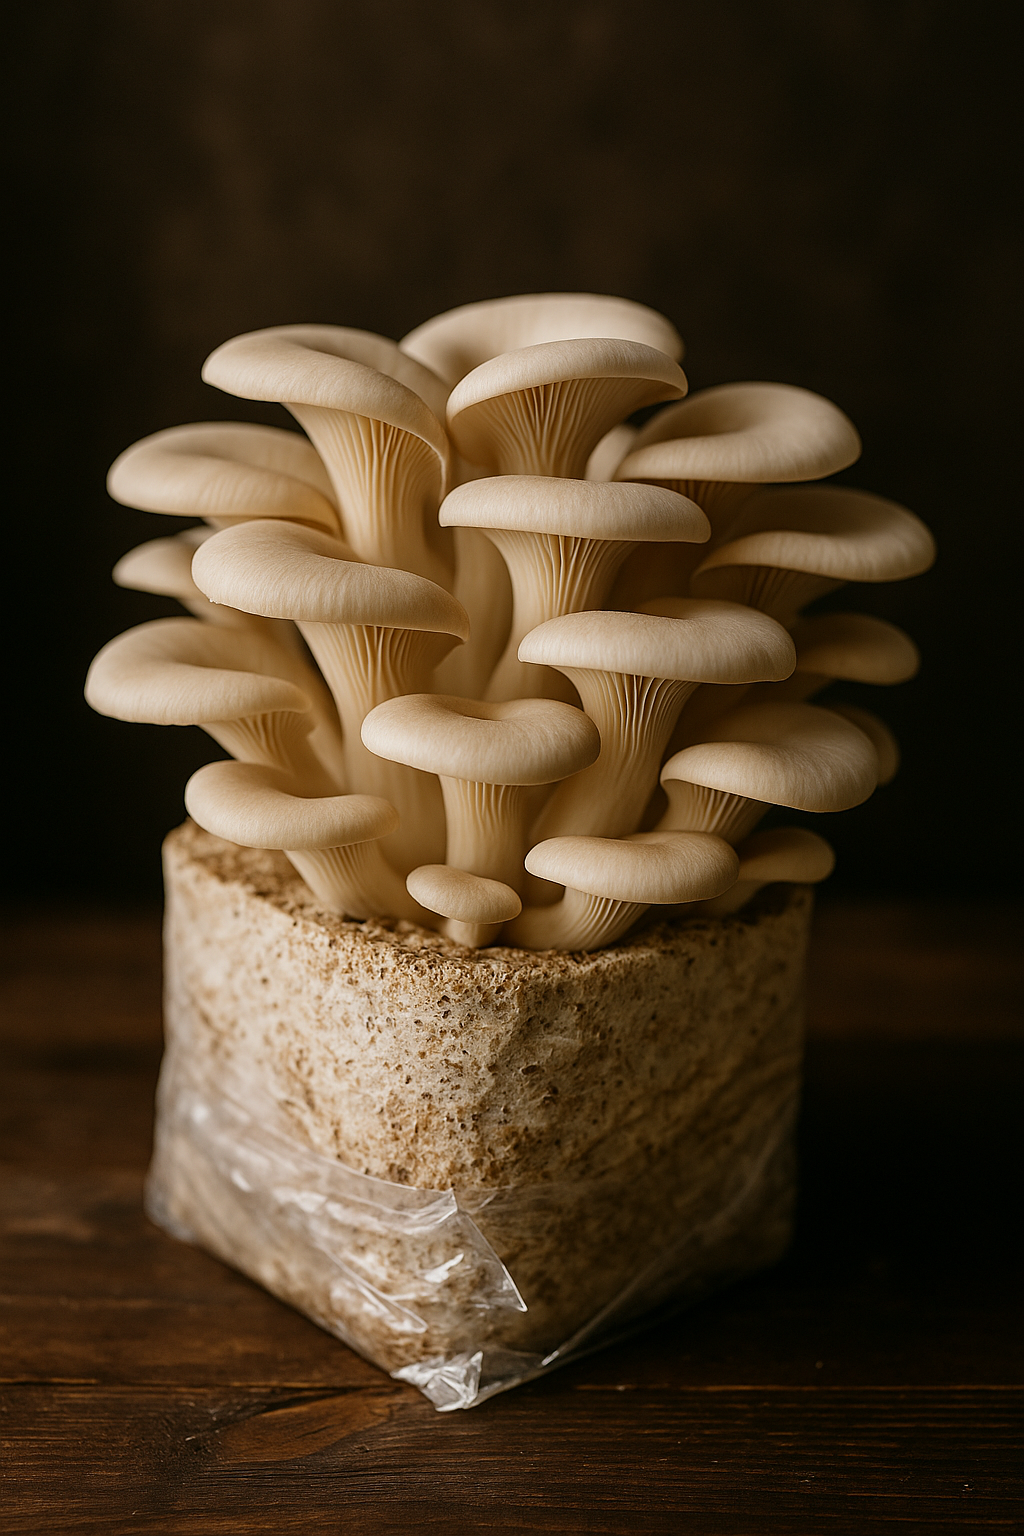
Oyster mushrooms, shiitakes, black mushrooms: very productive on wood, straw, or coffee grounds. Suitable for indoor bags as well as outdoor logs.
🛠️ How to inoculate?
-
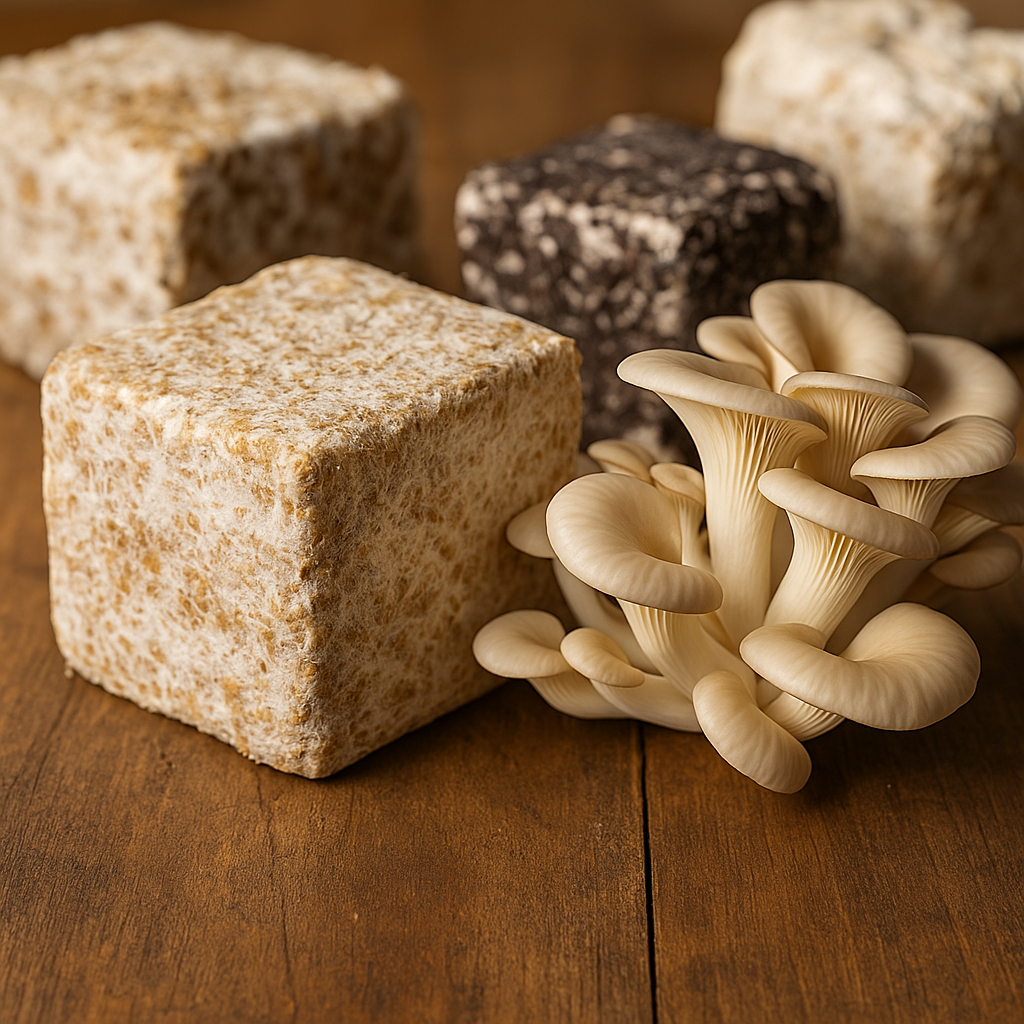
Choose a good substrate: forest humus, sawdust, compost, straw, or wood depending on the species.
-
Pour the diluted mycelium mixture directly onto the moistened substrate.
-
Lightly cover with dead leaves or straw to retain moisture.
-
Maintain regularly: monitor humidity, avoid chemical fertilizers, ventilate if needed.
📅 When to inoculate?
-
Morels, porcini, chanterelles, mousserons, truffles, etc.: spring or autumn
-
Button mushrooms, oyster mushrooms, shiitakes: indoors all year round
🌦️ Patience and observation
Fruiting can be rapid (a few weeks) for some species, or require several years for others, such as morels or truffles. Once established, the mycelium can live for many years and produce recurrently.
🌍 Why choose liquid mycelium?
Unlike ready-made kits often limited to a single harvest, liquid mycelium tubes allow for sustainable implantation in a natural ecosystem. It is an approach that is autonomous, ecological, and rewarding.
🧪 Find all our myceliums and embark on the adventure of artisanal mushroom cultivation, whether in your garden, a meadow, or even a cool, dark cellar.
Leave a comment
This site is protected by hCaptcha and the hCaptcha Privacy Policy and Terms of Service apply.