

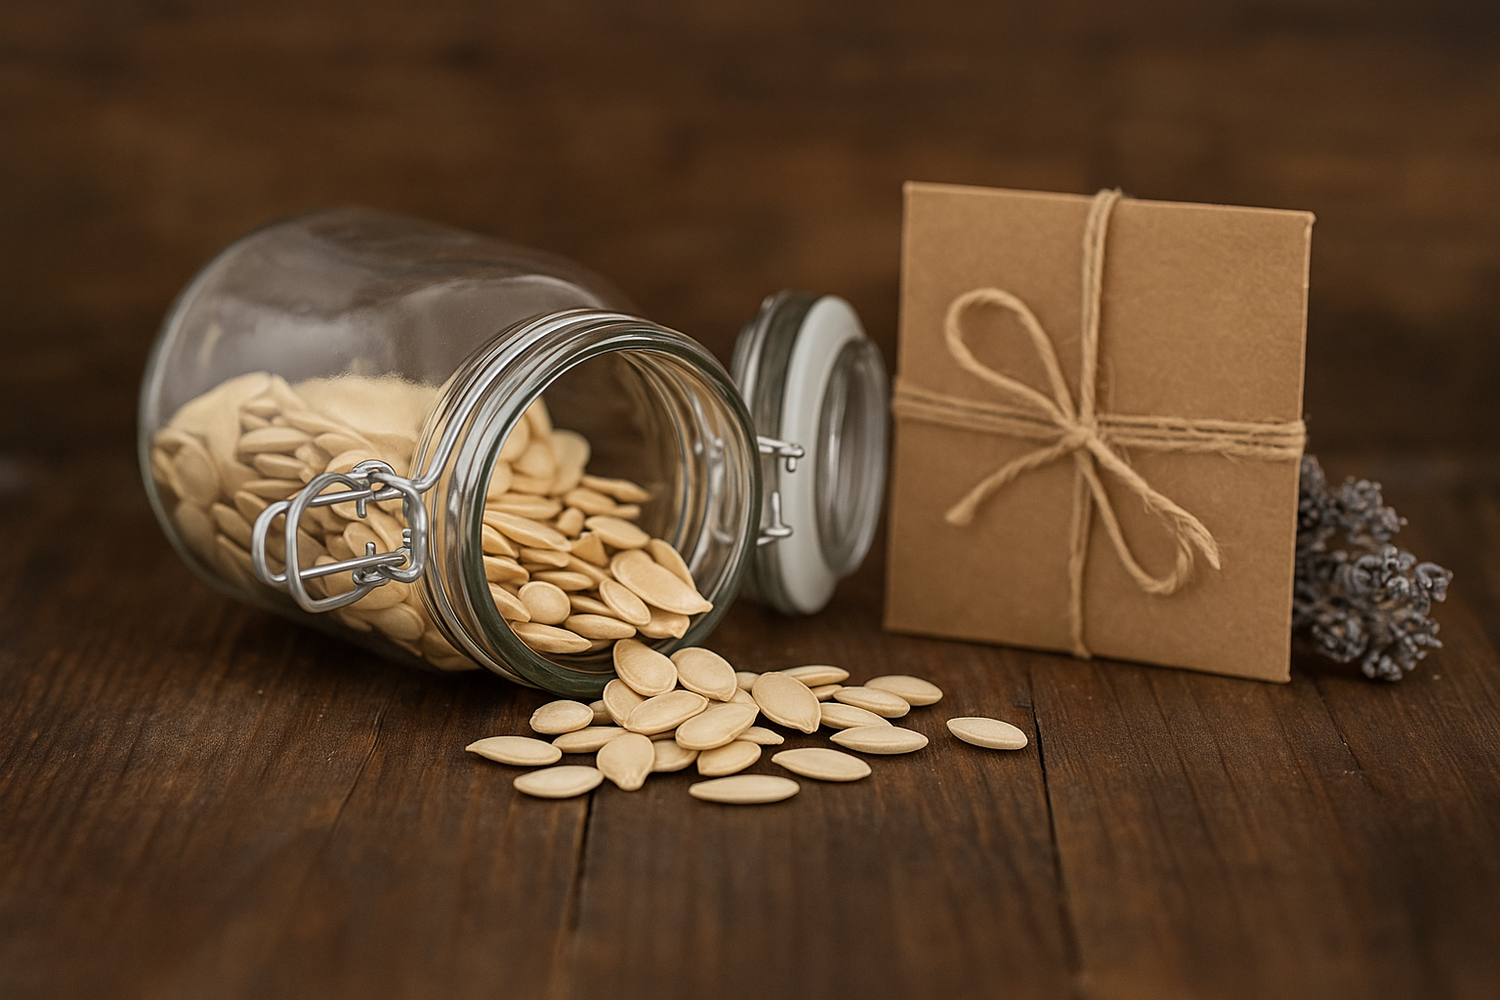
Harvesting your own seeds closes the garden loop: no need to buy them again every spring, and above all, your varieties adapt year after year to your soil, climate, and way of growing. But between harvesting and the next sowing, eight to ten months pass during which the seed remains alive and fragile. That is when everything is decided.
This guide covers the six steps between a harvested seed and a seed that will actually germinate: choosing the right seed plant, harvesting at the right stage, cleaning, drying, storing, and checking.
First of all: reproducible seed
A prerequisite that determines everything else: only reproducible seeds (open-pollinated varieties, heirloom varieties, farm-saved seeds) produce true-to-type offspring. F1 hybrids segregate from the second generation onward—you will indeed harvest seeds, but the resulting plants will be variable and often disappointing.
We explain this distinction in detail in What is the difference between F1, hybrid, and reproducible seeds?. Our entire catalog consists of heirloom and reproducible varieties.
1. Choosing your seed plant
The quality of your future harvests is decided here, long before the seeds are harvested. A seed plant is the plant or plants you deliberately allow to produce seeds.
Selecting the right plants
- Keep the most vigorous and healthiest plants, never those that produced poorly or were diseased.
- Select for the trait that interests you: earliness, drought resistance, flavor, compact growth…
- For leafy vegetables, avoid keeping plants that bolt first: you would unintentionally select a variety that bolts quickly.
Keep enough plants
This is the point most often overlooked. Some species self-pollinate and do very well with just one seed plant; others are cross-pollinating and lose vigor if you start with too small a population.
| Species | Reproduction | Recommended number of plants |
|---|---|---|
| Tomato, bean, pea, lettuce | Self-pollinating | 1 to 3 are sufficient |
| Bell pepper, chili pepper, eggplant | Self-pollinating, possible cross-pollination | 3 to 5 |
| Squash, zucchini, cucumber | Cross-pollinating | 5 to 10 |
| Carrot, onion, cabbage, beetroot | Cross-pollinating | 20 or more |
Avoiding unwanted cross-pollination
Two varieties of the same species planted side by side will cross-pollinate. The most common cases in the vegetable garden:
- Squashes: varieties of the same botanical species cross-pollinate with one another. A Butternut and a Musquée de Provence (both Cucurbita moschata) will cross; a Butternut and a Red Kuri squash (Cucurbita maxima) will not.
- Cabbages: cauliflower, broccoli, kale, and Brussels sprouts belong to the same species (Brassica oleracea) and cross-pollinate with one another.
- Beets and Swiss chard: same species, cross-pollination guaranteed.
Two simple solutions: keep only one variety per species for seed production each year, or space plants intended for seed widely apart. For self-pollinating species such as tomatoes, a few meters are usually enough.
2. Harvesting at the right time
A seed harvested too early has not completed maturation and will not germinate, or will germinate poorly. The general rule is: harvest well after the eating stage.
Dry seeds
- Peas, beans, broad beans: wait until the pods are brown, dry, and crackly on the plant.
- Lettuce: harvest when about half of the fluffy tufts have opened, shaking the stem over a bag.
- Carrot, parsley, dill, coriander, fennel: harvest the umbels when they turn brown, before they break apart on their own.
- Flowers (marigolds, borage, nasturtiums, cosmos): harvest the dry flower heads in dry weather, late in the morning.
Tip: for species that shed their seeds easily (lettuce, arugula, dill), put a kraft paper bag over the flower stalk a few days before maturity and tie it closed with string. You will collect everything without losing any seeds on the ground.
Wet seeds
- Tomato: fully ripe, or even slightly overripe.
- Bell pepper and chili pepper: wait until the final color develops and the fruit becomes slightly wrinkled.
- Cucumber: well past the eating stage, when the fruit turns yellow-orange and becomes hard.
- Squash and pumpkin: harvest at the usual time, but ideally leave the fruit to cure for a few weeks before opening it.
- Eggplant: the fruit should be yellowish or brownish and hard—unfit to eat, in other words.
3. Cleaning and sorting
Fermenting tomato seeds
This is the step specific to tomatoes, and it is not optional. Each seed is surrounded by a gelatinous coating containing germination inhibitors. Fermentation dissolves it and also removes some of the bacteria that can be transmitted through the seed.
- Press the seeds and their juice into a small glass jar with a little water at the bottom.
- Leave at room temperature for 2 to 4 days, without covering tightly. A whitish film will form on the surface: this is normal.
- Fill the container with clear water and stir. Viable seeds sink to the bottom, while debris and empty seeds float: skim off the surface.
- Repeat until the water runs clear, then drain them on a fine sieve.
Do not extend this beyond four days: the seeds would begin to germinate in the container.
Other species
- Squash, cucumbers, and melons: scoop them out, rub them by hand under water to remove the pulp, and discard any seeds that float.
- Bell peppers and chili peppers: simply detach the seeds from the placenta, without washing. Gloves are recommended for hot peppers.
- Dry seeds: crush the pods in a salad bowl, then winnow — blow gently or pour from one container into another in front of a fan: the light debris blows away while the seeds remain.
Systematically discard flat, discolored, pierced, or unusually small seeds.
4. Drying — the stage where the most batches are lost
A poorly dried seed develops mold, or continues to “breathe” and is depleted within a few months. A properly dried seed enters deep dormancy and can be stored for years.
- Spread them in a single layer on a plate, sieve, or kraft paper. Avoid paper towels, to which small seeds stick permanently.
- Never use newspaper: the inks may transfer.
- Dry them in the shade, in a ventilated room, at between 20 and 25 °C. Never in direct sunlight, and never in an oven or on a radiator: above approximately 35 °C, the embryo is damaged.
- Allow 1 to 3 weeks, depending on the size of the seed and the ambient humidity. Stir them every two or three days.
The test: a dry seed snaps cleanly instead of bending.
5. Store: dry, dark, cool, stable
The three enemies of stored seeds are moisture, heat, and light — in that order of importance. Seed preservers use a simple rule of thumb: the temperature in °C multiplied by two, plus the relative humidity percentage, must remain below 100. A cupboard at 18 °C and 50% humidity is well below this threshold.
Containers
- Kraft envelopes or bags: the classic choice. They allow air to circulate, ideal if your seeds are perfectly dry and the room is in good condition.
- Glass jars with rubber seals: the best option in a cellar or damp room, provided the seeds are truly dry. Add a sachet of silica gel or a spoonful of uncooked rice wrapped in a piece of cloth.
- Metal tins: good protection against rodents and insects.
Where to store them
An entryway closet, an unheated hallway, a dry attic. Avoid: the kitchen (steam), the bathroom, the sunroom (temperature fluctuations), and an uninsulated garage.
The refrigerator significantly extends shelf life, but only in a perfectly dry, airtight container. Take the jar out and let it return to room temperature before opening it; otherwise, condensation will form directly on the seeds.
Labeling
On every packet, without exception, note the species and the exact variety name, the harvest year, and, if possible, an observation about the plant's performance (early, drought-resistant, highly productive…). These notes, accumulated over several years, are worth far more than the seeds themselves: they are your selection record.
6. How long do they keep?
These durations assume proper storage. They indicate the period during which the germination rate remains satisfactory, not the date on which the seeds suddenly die.
| Species | Indicative lifespan |
|---|---|
| Parsnip, onion, leek, chives | 1 to 2 years |
| Carrot, parsley, spinach, salsify | 2 to 3 years |
| Pea, bean, fava bean, chili pepper, bell pepper | 3 to 4 years |
| Lettuce, cabbage, radish, turnip, beet | 4 to 5 years |
| Tomato, eggplant, squash, cucumber, melon | 5 to 7 years |
Records reported in horticultural literature far exceed these figures for well-stored cucurbits. Conversely, seeds from the carrot family and alliums lose their germination capacity very quickly: it is better to replace them every year.
The germination test
Five minutes of work that can prevent an empty bed in spring. Do this 2 to 3 weeks before the planned sowing date.
- Count 10 seeds (or 20 for a more reliable result) selected at random from the batch.
- Place them between two sheets of moistened paper towel in a sealed container.
- Keep at room temperature, around 20 °C, away from direct sunlight. Check the moisture every two days.
- Count the germinated seeds: 5 to 7 days for a radish or lettuce, 10 to 14 days for a tomato, and up to 3 weeks for parsley.
- 8 to 10 germinated — excellent batch; sow normally.
- 5 to 7 germinated — usable batch; double the sowing density.
- Fewer than 5 — batch at the end of its life. Use for dense mesclun sowings, or replace.
Building your seed library
- Sort by botanical family rather than alphabetically: this helps you plan crop rotations and assess cross-pollination risks.
- Date everything, and put the oldest batches at the front: they are used first.
- Don't keep everything. A seven-year-old batch from which you have never sown a single seed isn't worth the space it takes up.
- Exchange seeds. Seed swaps, seed libraries in public libraries, and gardener networks are the best way to introduce new genetic material into cross-pollinating species and discover local varieties.
Frequently asked questions
Can seeds bought in a packet be sown the following year?
Yes, without any difficulty, as long as the packet has been resealed and stored in a dry place. The durations above also apply to commercially purchased seeds, counting from their harvest year — not the purchase date.
Should I freeze my seeds?
Freezing is used in professional seed banks, but it requires a very low residual moisture level that is impossible to guarantee with home drying. A seed that is still slightly damp will be destroyed by the formation of ice crystals. For a gardener, the refrigerator in an airtight jar is the best compromise.
What should I do with floating seeds?
When washing wet seeds, those that float are generally empty or poorly formed: discard them. This test does not apply to dry seeds, which almost all float.
Why are my squash seeds producing strange-looking fruit?
This is a sign that the previous year's crop cross-pollinated with another variety of the same botanical species, or with an ornamental squash from nearby. The resulting fruits can sometimes be bitter and may be toxic: never eat a squash that tastes bitter, even after cooking.
Do old seeds germinate less well?
The germination rate gradually declines and emergence becomes less uniform: aging seeds germinate more slowly and less evenly, even when the final percentage remains satisfactory. This is why a preliminary test is useful.
Key takeaway
Saving seeds requires neither equipment nor technical expertise — just rigor in four areas: harvest at full maturity, dry them slowly and completely, store them in a dry, cool place, and label them systematically. The rest is pure enjoyment: sowing, every spring, seeds that come from your own garden.
To learn more
- Why choose non-hybrid, open-pollinated seeds?
- Heirloom seeds: what are they? Why grow them?
- The month-by-month sowing calendar
- Cold stratification: why and how to germinate seeds?
- How do you sow seeds in cotton, pots, or directly in the ground?
To start your first collection, explore our open-pollinated heirloom varieties, our vegetable seeds, and our seed collections — all our seeds can be harvested and replanted from one year to the next.


Leave a comment
This site is protected by hCaptcha and the hCaptcha Privacy Policy and Terms of Service apply.